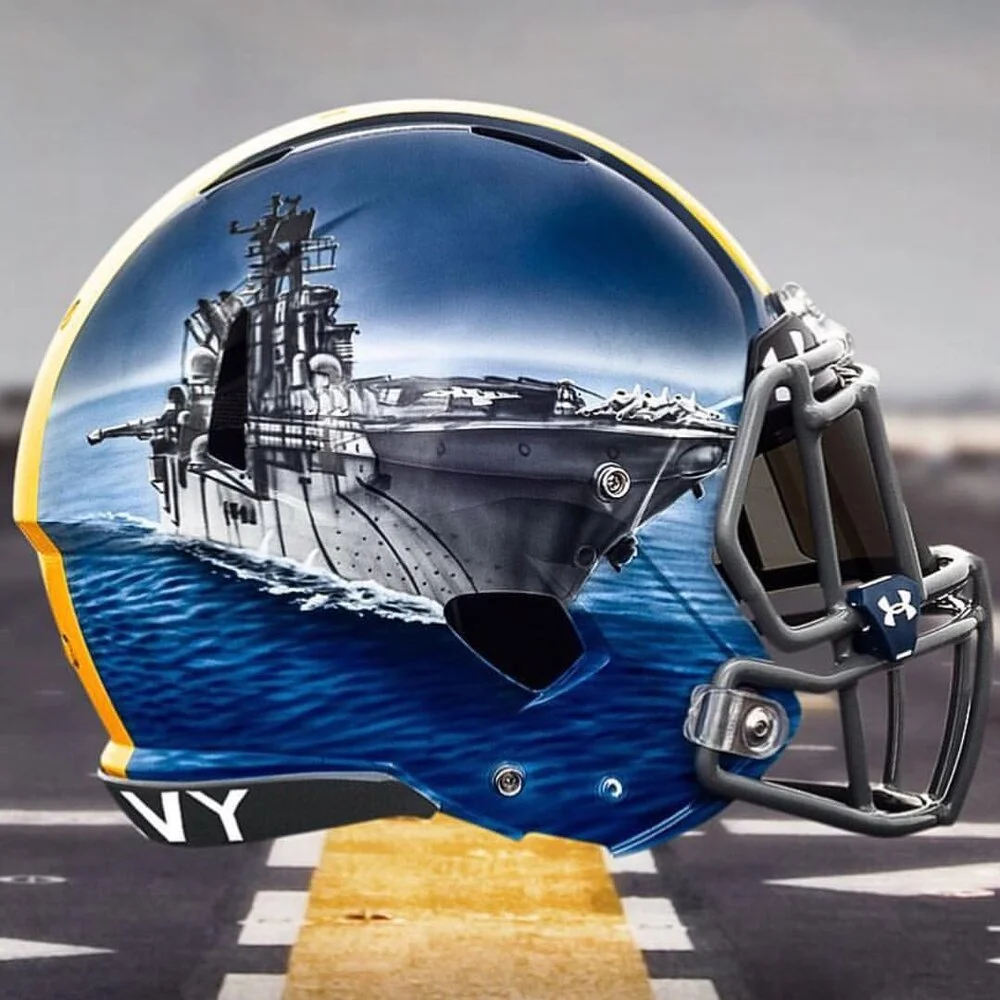
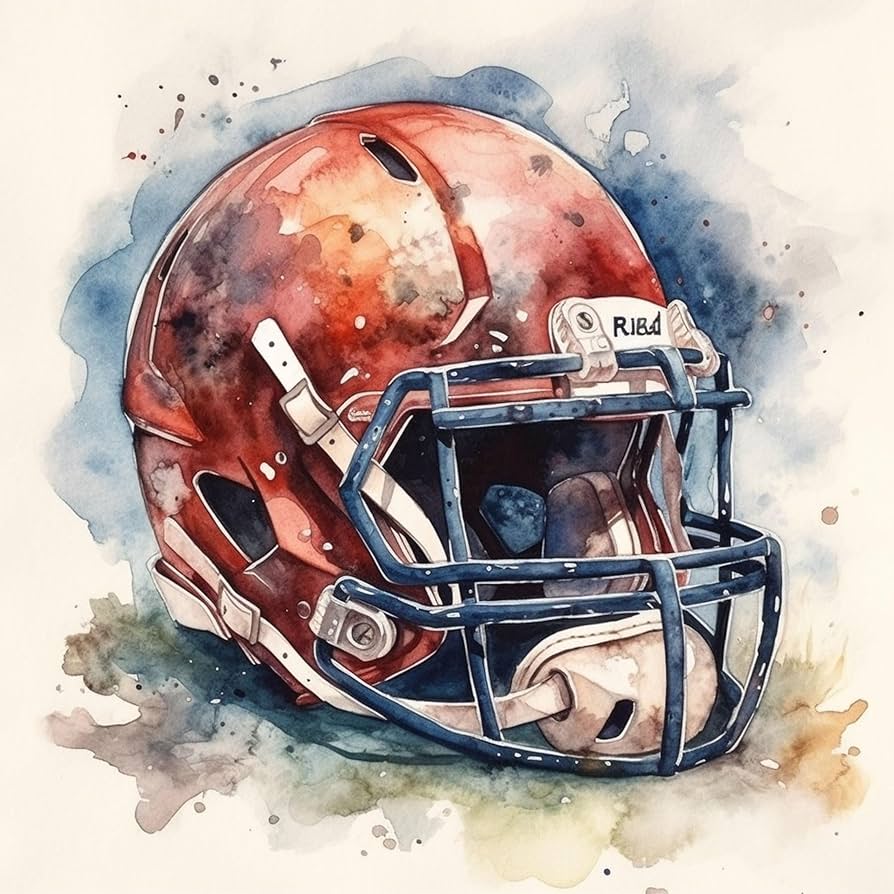
Introduction to Football Helmet Painting
How to paint a football helmet? Football helmets not only protect players but also carry team spirit and personal style. Learning how to paint a football helmet is a way to showcase your team colors and add a personal touch. This guide will show you the steps and materials needed to paint your helmet effectively.

Painting your helmet requires patience, attention to detail, and a bit of creativity. Whether you’re a player, fan, or collector, a customized football helmet can make a statement. Before you start, it’s essential to understand the process involved in painting a football helmet to ensure a professional outcome.
Essential Materials for Helmet Painting
Before diving into the process of how to paint a football helmet, you’ll need to gather some essential materials. These items will ensure that the painting job goes smoothly and results in a professional-looking finish.
- Paints: Choose high-quality paints that are compatible with the helmet’s material. Acrylic or automotive paints are often recommended for their durability and finish.
- Primer: A primer will help the paint stick to the helmet’s surface and prevent chipping.
- Sandpaper: Use fine-grit sandpaper to smooth out any imperfections on the helmet’s surface before painting.
- Painter’s Tape: This tape will help you achieve clean lines and protect areas of the helmet you don’t want to paint.
- Paint Brushes and Airbrush: Depending on the detail work, you may need a variety of brushes or an airbrush for a more even coat.
- Sealant: After painting, apply a sealant to protect the paint job and give it a glossy finish.
- Safety Gear: Gloves, masks, and goggles are important to protect yourself from paint fumes and particles.
Remember to work in a well-ventilated area and lay down old newspapers or a drop cloth to protect your workspace from paint spills.
Preparing Your Helmet for Painting
Before you start to paint your football helmet, proper preparation is critical for a long-lasting finish. Here’s how to prepare your helmet:
- Clean the Helmet: Begin by cleaning the helmet with soap and water. Remove any dirt, grease, or old stickers. Dry it completely.
- Remove Existing Paint: If your helmet has a previous paint job, strip it off with paint thinner or a commercial paint remover. Be sure to use gloves and work in a ventilated space.
- Sand the Surface: Sand the helmet with fine-grit sandpaper. Smooth the surface to ensure the new paint adheres well.
- Wipe Down the Helmet: After sanding, wipe down the helmet with a damp cloth to remove any dust.
- Apply Primer: Once the helmet is clean and dry, apply a layer of primer. Let it dry according to the product’s instructions.
- Tape off Areas: Use painter’s tape to cover any parts of the helmet you don’t want painted, like buckles and straps.
Each step in the preparation process is essential to how to paint a football helmet effectively. Take your time and don’t rush.
Selecting the Right Paint for Your Football Helmet
Selecting the right paint is crucial for a durable and vibrant finish. When choosing paint for your football helmet, consider the following aspects:
- Type of Paint: Use paints designed specifically for plastic or similar materials. Automotive paints are also a good choice as they adhere well to plastic surfaces and resist chipping.
- Color Match: Ensure the paint color matches your team colors perfectly. This might require mixing colors or finding a custom shade.
- Finish: Decide between matte, glossy, or metallic finishes based on the look you desire for your helmet.
- Quality: Opt for high-quality paints that promise durability and color retention. This is important as the helmet will face outdoor elements.
Remember, the right type of paint can significantly affect how your football helmet looks and how long the paint job lasts. It’s wise to invest in the best paint you can afford.

Step-by-Step Painting Process
Now that you’ve selected the right paint and prepared your helmet, it’s time to begin the actual painting process. Here’s a step-by-step guide to help you achieve a professional finish:
- Lay Down the Base Coat: Start with a thin, even base coat using your chosen paint. Use long, sweeping motions to avoid drips. Allow it to dry thoroughly before adding additional layers.
- Apply Multiple Thin Coats: Rather than one thick coat, apply several thin coats of paint. This method prevents runs and ensures even coverage. Let each coat dry completely.
- Use Stencils or Templates for Designs: If you want patterns or designs, use stencils or templates. Secure them onto the helmet and apply paint carefully around them.
- Remove Tape Carefully: Once the paint is dry, slowly remove the painter’s tape. Do this carefully to prevent peeling off any paint with the tape.
- Touch Up as Needed: After removing the tape, you might find spots that need a touch-up. Use a small brush to fix any imperfections.
- Review Your Work: Examine the helmet from various angles to ensure complete and even coverage. Make sure you didn’t miss any spots.
By following these steps, you’ll know how to paint a football helmet with a finish that not only looks great but also stands up to the elements. Take your time with each step to achieve the best results. In the next section, we’ll discuss how to add details and custom graphics to your helmet.
Adding Details and Custom Graphics
Once you have your base paint applied and dried, it’s time to personalize your football helmet with details and custom graphics. Doing this adds uniqueness and can showcase your team spirit or personal style effectively. Here are some tips on how to paint a football helmet with custom graphics:
- Choose Your Design: Decide on a design that reflects your style or your team’s identity. Simple logos, stripes, or intricate patterns can transform your helmet’s look.
- Sketch the Design: Lightly sketch your chosen design on the helmet using a pencil. This will serve as a guide when you start painting or applying decals.
- Use Stencils for Precision: For intricate designs, use stencils to ensure precision. You can buy pre-made stencils or make your own. Attach the stencil securely before painting over it.
- Apply Paint or Decals: If painting, use a fine brush for details or an airbrush for a smoother finish. For a simpler application, consider using decals that match your chosen design.
- Let It Dry: Allow the paint or decals to dry completely, ensuring they are securely adhered to the helmet before moving on.
Adding custom graphics isn’t just about beauty; it’s a way to make your helmet one-of-a-kind. Whether you choose to paint these by hand, use airbrushing techniques, or apply decals, each method offers a way to achieve professional-looking results. Remember to work patiently and pay attention to detail to ensure the best outcomes.
Finishing Touches: Sealing and Polishing
After you apply the details and graphics, you’re nearly done. The next steps will ensure your helmet’s new paint job is not only stunning, but also long-lasting. Let’s take a look at how to give your football helmet the perfect finishing touches with sealing and polishing.
- Apply a Sealant: The first finishing touch is to apply a clear sealant over the entire helmet. This sealant will lock in the paint and protect it from scratches and weather damage. Choose a sealant that’s compatible with your paint type for the best protection.
- Let It Dry: It’s important to let the sealant dry completely. Follow the manufacturer’s instructions for drying times. Once it’s dry, your helmet will have a protective barrier that adds durability to the paint.
- Polish for Shine: For extra glossiness, polish your helmet. Use a non-abrasive polish and a soft cloth to buff the helmet. This will give it a shine that stands out on the field.
- Inspect the Helmet: After polishing, inspect the helmet for any missed spots or imperfections. If needed, apply an extra coat of sealant or touch up the polish.
By sealing and polishing your football helmet, you extend the life of the paint job and ensure it looks great under the stadium lights. This final step showcases your hard work and the care you put into how to paint a football helmet.

Maintaining Your Painted Football Helmet
After you’ve put in the work to paint your football helmet, maintaining its look is key. Here are simple steps to keep your helmet in top shape:
- Regular Cleaning: Wipe down your helmet with a damp cloth after each use. This removes dirt and sweat that can harm the paint over time.
- Avoid Harsh Chemicals: Use only mild soap for tough stains. Strong chemicals can strip the paint and damage the finish.
- Store Properly: Keep your helmet in a cool, dry place. Extreme temperatures and moisture can cause paint to crack or peel.
- Handle with Care: When transporting your helmet, protect it with a bag or padding. This prevents scratches and chips in the paint.
- Check for Damage: Inspect your helmet regularly for any signs of paint wear or damage. Early detection helps in timely touch-ups.
- Touch-Up as Needed: If you notice small chips or scratches, touch them up with matching paint. A small brush is perfect for precision.
By following these maintenance tips, you ensure your ball helmet keeps its fresh, custom look game after game. Remember, a well-maintained helmet not only looks better, but it also provides better protection.
