The significance of proper camping tent setup while camping
Proper camping tent setup is crucial for a successful and enjoyable camping experience. It ensures that your tent provides the necessary shelter, protection, and comfort. It provides protection from the elements, enhances safety and security, ensures a comfortable living space, promotes ventilation and airflow, prevents insects and critters from entering, allows for efficient use of space, facilitates a quick takedown process, and aligns with environmental considerations. By taking the time to set up your tent correctly, you can create a safe, comfortable, and environmentally conscious camping environment for your outdoor adventures.
Choosing the Ideal Tent Site
Choosing the ideal tent site is crucial for a comfortable and safe camping experience. By assessing the terrain, considering factors like shade, wind direction, and proximity to water sources or facilities, and following campground guidelines and Leave No Trace principles, campers can select the perfect location for pitching their tent.
Assess the terrain and select a level, well-drained area for pitching the tent:
- Level Ground: Look for a level area to pitch the tent. Avoid slopes or uneven terrain, as it can lead to discomfort while sleeping and potential rolling or sliding during the night.
- Well-Drained: Choose a spot that is well-drained, as camping in a low-lying area can result in water pooling around or under the tent. This can lead to a soggy and uncomfortable camping experience.
Consider factors like shade, wind direction, and proximity to water sources or facilities:

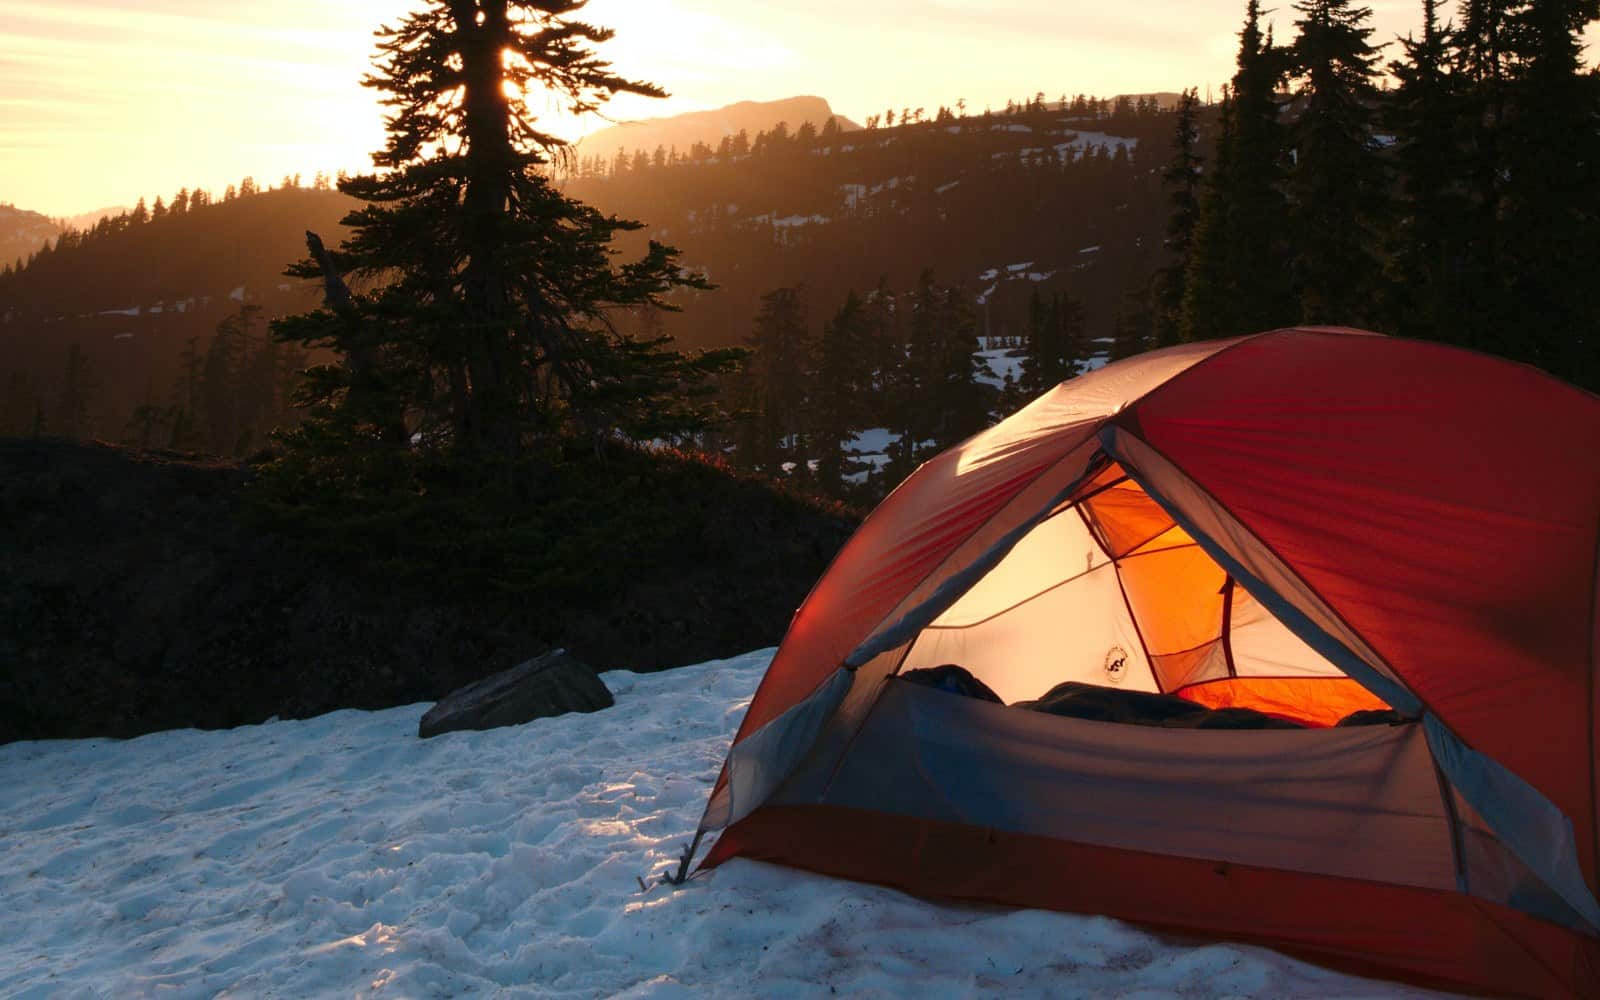
- Shade: If camping in hot weather, consider the availability of shade. Look for a spot near trees, rock formations, or natural structures that can provide shade during the day and help keep the tent cooler.
- Wind Direction: Assess the prevailing wind direction and position the tent accordingly. Placing the tent perpendicular or at a slight angle to the wind helps reduce the impact of strong gusts and keeps the tent more stable.
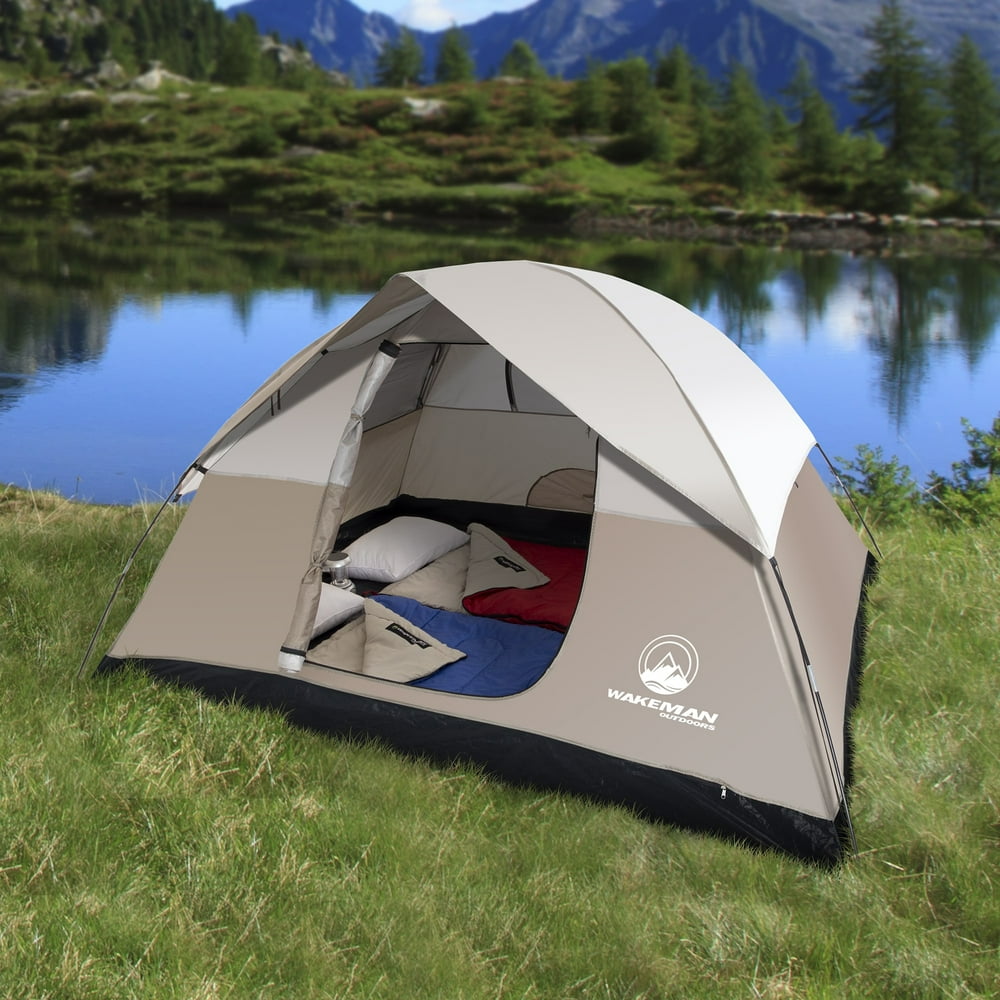
- Water Sources: Depending on the camping trip’s duration and location, consider the proximity to water sources. Camping near a water source can make it more convenient for cooking, cleaning, and accessing drinking water.
- Facilities: If camping in a campground or developed area, consider the proximity to facilities like toilets, showers, or picnic areas. Being close to these amenities can offer convenience and make the camping experience more comfortable.
Highlight the importance of following campground guidelines and Leave No Trace principles:
- Campground Guidelines: Familiarize yourself with the specific campground guidelines or regulations. Some campgrounds may have designated tent sites or restrictions on where tents can be pitched. Follow these guidelines to ensure a positive camping experience for yourself and other campers.
-
Leave No Trace Principles: Adhere to the principles of Leave No Trace, which promote responsible outdoor practices. These principles include leaving the campsite as you found it, minimizing impact on natural surroundings, and properly disposing of waste. Selecting an appropriate tent site and leaving it in its original condition aligns with these principles.

Step-by-Step Tent Setup Guide
Setting up a tent can sometimes be a challenging task, especially for beginners. However, by following a step-by-step guide, campers can easily and successfully pitch their tent. This guide will walk you through the tent setup process, including laying out and assembling the components, properly staking down the tent, tensioning the guy lines, and addressing common challenges.
Lay out and assemble the tent components:
- Select a suitable tent site: Choose a level and well-drained area for pitching the tent.
- Unpack the tent: Lay out the tent components, including the tent body, rainfly, poles, stakes, and footprint (if using one).
- Lay out the footprint: If using a footprint, place it on the ground in the desired tent location. The footprint helps protect the tent floor from abrasion and moisture.
- Assemble the poles: Follow the manufacturer’s instructions to assemble the tent poles. Connect the sections to form the pole structure.
- Attach the tent body to the poles: Slide the poles through the designated pole sleeves or clips on the tent body. Make sure the poles are properly inserted and secure.
- Attach the rainfly (if applicable): If your tent has a rainfly, drape it over the top of the tent body and attach it using the provided clips or fasteners. Ensure the rainfly covers the tent completely for weather protection.
Properly stake down the tent and tension the guy lines:
- Stake down the tent corners: Insert stakes through the designated loops or grommets at each corner of the tent. Angle the stakes away from the tent slightly for better stability.
- Stake down the rainfly and vestibules: If using a rainfly with vestibules, stake down the vestibule corners to create additional space outside the tent.
- Tension the guy lines: Locate the guy line attachment points on the rainfly and tent body. Secure the guy lines to stakes or nearby natural anchors, such as trees or rocks. Tension the guy lines to ensure optimal stability, especially in windy conditions.
Address common challenges during setup and provide troubleshooting tips:

- Windy conditions: If it’s windy, consider using additional stakes or rocks to secure the tent. Staking down the tent with the rainfly on can provide better stability.
- Difficult pole assembly: Some tent poles may have color-coded sections or markings to help with assembly. If poles are sticking or not sliding smoothly, apply a small amount of lubricant or powdered graphite to ease the assembly.
- Rainfly attachment: Ensure the rainfly is properly attached and secured to avoid water leakage. Check for any gaps or loose areas and readjust if necessary.
- Uneven ground: If pitching the tent on uneven ground, adjust the stake placement and pole tension to create a taut and even structure.
- Condensation management: To minimize condensation build-up inside the tent, leave vents open or partially open. Proper airflow helps reduce moisture accumulation.
By following this step-by-step tent setup guide and addressing common challenges, campers can successfully pitch their tent and create a comfortable and stable shelter. Practice setting up your tent before your camping trip to become familiar with the process and ensure a smooth setup experience in the great outdoors.